 Dr. Ronald Steiner
 Melanie Pilz
Chest out! Suck your belly in! Stand straight!
It somehow sounds logical, right? We tend to sink and droop forward after a period of time in one position. You sit for hours at a desk and your back will eventually start rounding. Some folks walk around all day with their shoulders slumped and aren't even aware of it!
But following these instructions to just straighten up will inevitably lead to tension in the neck and back. Generally speaking, there is nothing wrong with muscular tension. But if the goal is to remain upright throughout the day, simply recruiting the muscles of the back and neck will result in constant tension, which leads to problems.


 Dr. Ronald Steiner
Locked Short
When tensed, a muscle creates a small electrical charge. The collagen fibers (i.e. the molecular building blocks of our fascia) are also slightly electrically charged. You align yourself along these lines of tension.
If the muscle remains tense, the fascia lines are also tightened. This leaves them locked short. You can feel this as a hardened area in the muscle.
What keeps us upright?
It is surprising at first glance. If we forget trying to stand upright at all, but instead actively integrate the series of opposing double helical fascia into our breathing, the spine will miraculously grow upward naturally and effortlessly. The natural curve of the spine remains intact, but with just a bit more space between the vertebrae.
The tensed up back muscles can finally relax now. Your breath sends contraction impulses through the myofascial system of the trunk. Here, a contraction wave spreads with the inhale from the diaphragm upwards and downwards. Another wave follows with the exhale, starting yet again from the center of the body.
In this way, the muscles contained within the opposing double helical fascia remain soft and relaxed. Each time they are called to tense, there is a following period of relaxation and this is controlled by the breath. Functions carried out by the back are included in this rhythmic ebb and flow.
Four layers of opposing double helices
As the opposing double helices of the back body continue running through to those of the front body, we can count four levels that stack on one another through the torso.
Deepest layer
The deepest layer looks less like a helix and is more a transverse layer of fascia that lines the body from inside. Arches connect this corset from front to back.
The transverse direction is more evident when looking at the front, the back body is where we see the use of the arch structures to close the wrapping of this layer. The transverse fascia continue from transverse process to transverse process via the vertebral bodies.
The diaphragm, on the other hand, forms the main arch. Using the crus of diaphragm (Crus Diaphragmatica) , it pulls the lumbar spine upwards.
The deep pelvic floor muscles (Dipahragma Pelvis) forms an opposing arch. Tis pulls the sacrum down from inside.
In the cervical region, this arch construction continues in the muscles in front of the spine (prevertebral muscles) and the lower tongue muscles (infrahyoidal muscles).
This deepest layer pulses with each breath. The activity of the diaphragm, which is essential for breathing, is decisive for this.
Deep layer
The deep layer hugs the deepest layer. It too is permeated by the rhythm of the breath.
From the perspective of the back body, the outer oblique intercostal and abdominal muscles (Mm. Intercostales Externi and Mm. Obliauus Abdominis Externi) split into two sheets. At the surface, the thoracic-lumbar fascia (fascia thoraco-lumbalis) envelops this straight back extensors (m. erector spinae). From the inside, a fascia layer containing the short and long rotators (Mm. Rotatores Brevi et Longi) as well as the multifidi muscles wrap around the erector spinae.
The inner oblique intercostal muscles and internal oblique abdominal muscles transfer their power from the transverse process to the spinous process via the vertebral arch. The two diagonals of the opposing helix intersect at the spinous process. As in the front body, they wrap around the straight back extensors from the inside and outside.
Middle layer
The next layer lying superficially over the deep layer starts either at the strap-like muscles of the back of the neck (M. Splenius Capitis) or a bit lower from the transverse processes of the cervical spine and at the strap like muscles of the neck (M. Spelnius Cervicis) traveling diagonally to the spinous processes of the spine.
From there this approximately hand-wide band crossed to the opposite side. The rhomboid muscles (major and minor) carry the strength further to the shoulder blades.
Now the fascial lines split into three. Two parts are enclosed in the shoulder blade from the front and back and travel further to the arm. The third runs to the serratus (M. Serratus Anterior) in this mid-double helix around the trunk to the front of the body.
After crossing over the front, the fascial pull arrives to the leg via the tensor fascia lata. This middle double helix connects the neck with the leg of the same side and shoulder of the opposite side. This is part of the opposing swing we notice in walking.

Superficial layer
On the surface, the latissimus dorsi spans diagonally across the lumbar fascia of the trunk (fascia thoraco lumbalis) to the gluteus maximus. The movement of the leg and arms are linked in opposite directions.
Every movement brings dynamic tension into the helical system. The more intense the movement, the more tension is created in the opposing double helical fascia system that encloses the trunk. Functionally this makes a lot of sense, because the torso needs the most stabilization.

Exercise sequence
With this exercise sequence you will bring tension from the straight back and neck muscles to the helical fascial system. We will use powerful rotational movements to achieve this.

Flying grasshopper (with legs)
Lie prone on the floor. Spread the arms out to the sides and lay your forehead on the ground as you lift the legs up. This will bring tension in the back body (Fig. 1).

Inhale and rotate your legs to the right while you tilt your pelvis to the left. Use your hands and your extended arms to support yourself. Make sure your back stays active. The tension now winds helically around the entire torso (Fig. 2).

Exhale and unwind back to center, and the inhale to the next side. Feel how the tension alternates in one direction and then in the next as you move with your breath. Repeat until you sense fatigue in the back body.
Effect: This exercise not only strengthens the back extensors, but also trains the diagonally running muscles. This includes the multifidi (Mm. Multifiidie) as well as the posterior parts of the obliques (M. Obliquus Abdominis Internus und Externus). From a broader perspective, these diagonally running muscles are part of the opposing helical fascia.
Flying Grasshopper (with arms)
Now from the same starting position, lift your head, shoulder and arms to the side. Feel how the tension now includes the upper half of the back body (Fig. 3).

Now inhale and rotate from the thoracic spine so that your right arm rises while the left arm lowers. Make sure to maintain the tension needed to keep both arms elevated (Fig. 4).

Exhale and come back to the center starting position before continuing to the next side. Repeat until you feel fatigue in the muscles.
Effect: This exercise is much more than just strengthening your back muscles. The rotation pulls the tension diagonally from the left arm to the right leg and right arm to left leg. This way you activate parts of the opposing double helical fascia lines.
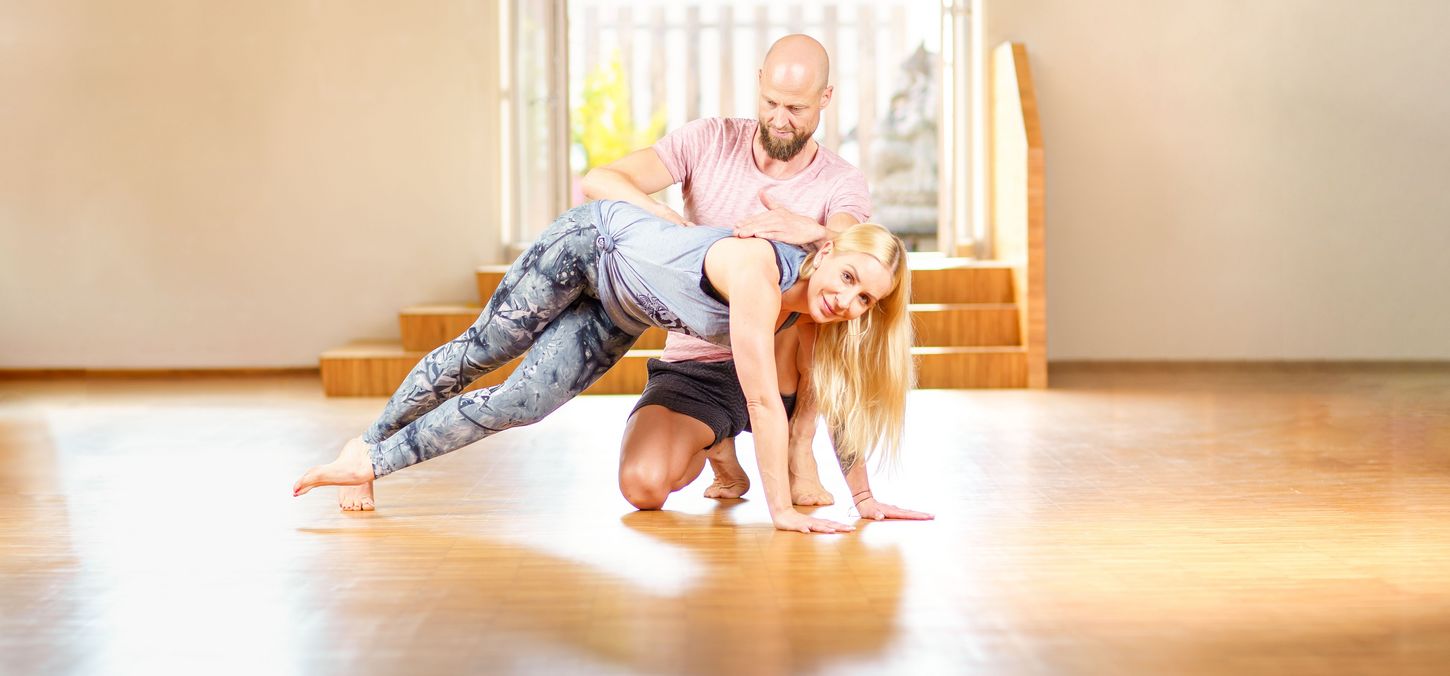
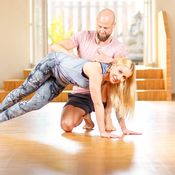
Crossover rotating plank
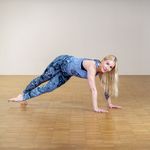
After this exercise come onto all fours. Place your hands firmly on the ground with the index fingers pointing slightly outwards. Your shoulders and wrists should be lined up. Stretch one leg at a time and come into the top of a pushup position (Fig. 5).
Lift your left leg slightly. Inhale and cross the leg under the right leg. Your pelvis will turn to the right. The axis of the torso, pelvis and right leg remain stable and lined up (Fig. 6).
Exhale and bring the left leg back through, hovering the whole way. Now continue inhaling and crossing the same leg over the right leg. Your pelvis will twist to the left. Everything else remains stable. As soon as the left foot touched the ground, return back to the first movement (Fig. 7).
Continue crossing over and under the right leg. Then switch legs and repeat on the second side.
Effect: This exercise consists of bodyweight support and rotation. The support aspect of the exercise activates the stabilizers of the torso, which include the helical fascia. The rotation moves the tension from one side to the other, in a helical fashion. In this way, your spine is enveloped in a powerful tension that stabilizes and at the same time creates space.
Have fun practicing!
Teacher: Dr. Ronald Steiner
Yogini: Melanie Pilz
Photographer: Paul Königer - www.yogafotograf.de
Apparel: OGNX

-

Beim Beine nach rechts kippen kippt auch das. Becken nach rechts / auf die rechte Seite. Nach links wäre ne coole Verwringung… Beim Beine nach rechts kippen kippt auch das. Becken nach rechts / auf die rechte Seite. Nach links wäre ne coole Verwringung…
-

In der Tat. :) In der Tat. :)
-
-

Hallo Ronald,
gibt es hier auch ein Video davon? Ich hab das Gefühl dass ich mit der textuellen Beschreibung alleine die Übung nicht ganz so ausführe wie sie gedacht ist.
Liebe Grüße,
Seba Hallo Ronald,
gibt es hier auch ein Video davon? Ich hab das Gefühl dass ich mit der textuellen Beschreibung alleine die Übung nicht ganz so ausführe wie sie gedacht ist.
Liebe Grüße,
Seba-
Na klar. Du findest es im OnDemand Yogastudio.
- in ganz vielen der YogaDoc Stunden. Na klar. Du findest es im OnDemand Yogastudio.
- in ganz vielen der YogaDoc Stunden.
-
-

Heike Nagel
at 11.02.2025Hallo Ron- ich finde diese Übungsserie einfach Klasse- vor allem die Erklärung- übe sie oft mit den Senioren ;-) so oder so ähnlich. Ich glaube, bei der Bewegungsbeschreibung der letzten Übung hat [...] Hallo Ron- ich finde diese Übungsserie einfach Klasse- vor allem die Erklärung- übe sie oft mit den Senioren ;-) so oder so ähnlich. Ich glaube, bei der Bewegungsbeschreibung der letzten Übung hat sich ein Fehler eingeschlichen- ' ziehe dann, wieder ausatmend, dein rechtes Bein zurück.' Es macht aus meiner Sicht mehr Sinn, wenn es das linke Bein wäre ;-) Liebe Grüße Heike
-

Heidi Fellensiek
at 18.11.2022Danke...bekomme langsam ein Vorstellung die mir hilft zu verstehen warum sich bestimmte Übungen wie auswirken.... Danke...bekomme langsam ein Vorstellung die mir hilft zu verstehen warum sich bestimmte Übungen wie auswirken....
Messages and ratings